
Brian Long Consultancy & Training Services
Ltd.
May 2011
Now all the preliminaries are out of the way we can launch Visual Studio and start
building applications. Choosing File, New, Project...
yields the usual dialog but with some Mono for Android project templates available:

Taking them in sequence, the Mono for Android Application creates a basic, standard Android application using Mono for Android. This is the project template you will use most.
The OpenGL Mono for Android Application template creates an application set up for doing graphics processing using OpenGL (think Angry Birds, for example). The template project has a spinning square, which is filled with gradients of various colours.
The final template, Mono for Android Class Library generates a library as opposed to an application, which you may want to share between a number of different Mono for Android applications. Code-wise, this is a regular .NET library assembly.
Since it makes most sense we'll use the first template and create a Mono for Android Application. This gives a simple sample application with a small amount of code. For the time being we'll ignore the structure of a Mono for Android application and just get the first application up and running. So, ignoring the class containing the method and also ignoring for now how the method gets invoked, the code looks like this:
int count = 1;
protected override void OnCreate(Bundle bundle)
{
base.OnCreate(bundle);
// Set our view from the "main" layout resource
SetContentView(Resource.Layout.Main);
// Get our button from the layout resource,
// and attach an event to it
Button button = FindViewById<Button>(Resource.Id.MyButton);
button.Click += delegate { button.Text = string.Format("{0} clicks!", count++); };
}
The code is trivial and the comments help you bluff through what is unfamiliar. In short it sets up a button event handler. Each time the button is clicked the button's text/caption is updated to indicate how many clicks have been made thus far.
You can run the application by pressing Ctrl+F5. This starts the launch
process by building the application. Assuming this goes fine Mono for Android then
identifies which Android device you want to run the application on. If you have
the Trial Version then you will only be shown a list of any running Android emulators.
If you have purchased Mono for Android you will additionally see a list of any connected
devices.
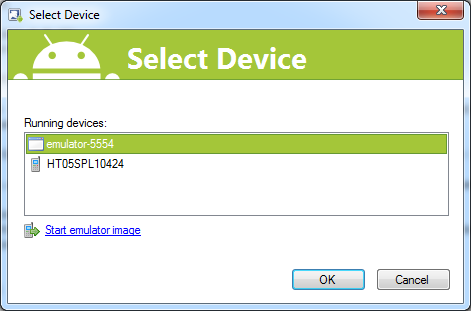
Note: In the device list emulator images typically start with the word emulator and have a numeric suffix visible on the emulator's caption bar (see the emulator screenshot below). Physical devices are listed by their serial numbers.
Note: In order to have physical devices appear in the list of available
devices to deploy to, you must have already set up your system to support connecting
to the device. Installing whatever sync software comes with your device normally
does this - this will install any drivers necessary for communication. For example,
in the case of my
HTC Desire I installed the HTC Sync software that was supplied on my phone's
SD card while the phone was hooked up in the external drive mode. After installing
HTC Sync the phone could be communicated with by the Android SDK tools (notably
adb, the Android Debug Bridge) just by connecting it with the USB cable. If you
cannot locate the drivers you could try looking at the Android OEM USB Drivers page.
You will additionally need to enable USB Debugging on the Android device. You do
this by pressing the device Menu button and choose Settings,
Applications, Development and ensure that USB Debugging
is checked.
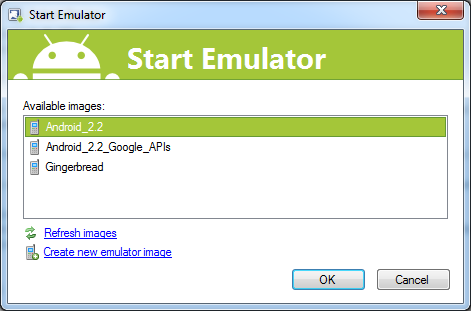
If you have not started up an Android emulator image before trying to build and launch the application, then fret not - there is a link on the device selection dialog that gives you the option to launch an emulator image.
You can also launch an Android emulator image beforehand starting from within Visual
Studio. The Tools menu has a Start Android Emulator Manager
option. This takes you to the Virtual Devices page of the SDK Manager.
Once a device has been selected, Mono for Android continues through the required sequence of steps to get the application on the device (virtual or physical) and execute it:
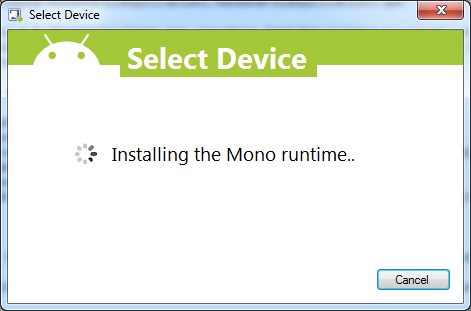
Note: The deployment of the Mono runtime and Mono platform framework are only done when working with the debug build. Deploying the Mono code separately means your application is smaller and so the multiple deployments that will be necessary while debugging and developing the code will be quicker. For release builds the linker puts everything in one deployable package, stripping out all the code that can be determined to not be called.
When the application starts up it looks like this in the emulator (this AVD was created with a HVGA, or 320x480, resolution):
After a click of the button, the button's text is updated as per the code in the event handler, and we get this when running on an actual device (this phone is running with a WVGA800, or 480x800, resolution):
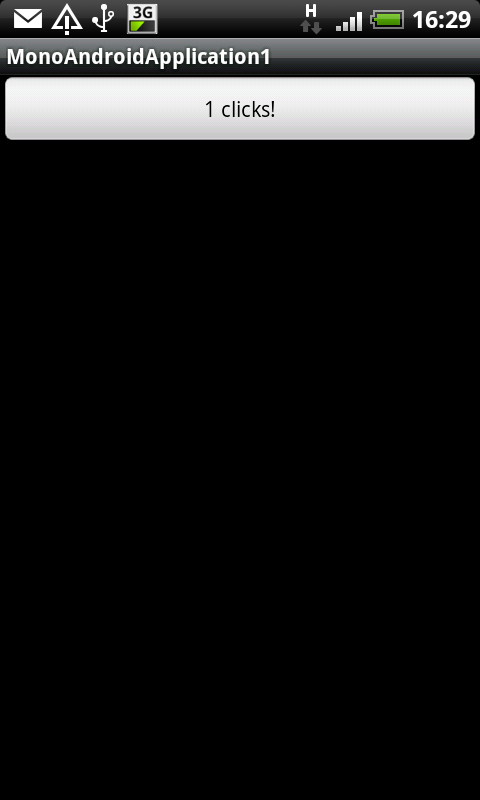
So there we have our first application running on an Android device, be it an emulator or a physical phone or tablet.
Go back to the top of this page
Go back to start of this article